How to DIY install artificial grass
So you just bought some new rolls of premium artificial turf, but thats only half the job done. Your new turf will only be as good as its installation, so we always recommend you get the professionals in to ensure you get the longest life out of it.
We know, sometimes you just want to get the job done yourself, so here’s a quick guide on the best practices for DIY installing artificial turf!
Prioritize Safety
The installation of artificial grass involves strenuous labor and, for larger areas, the use of heavy machinery. It’s crucial to practice safe manual handling techniques and ensure the safety of all individuals involved in the project.
Step 1: Base Preparation
- Clear and Level the Site: Begin by removing any existing natural grass, weeds, and roots from the area. Determine the desired finished height of your artificial grass. Excavate the site to a depth of approximately 100-120mm below this level, ensuring that you remove any large rocks or concrete within 200mm of the area’s perimeter to avoid interference with the securing pins.
- Apply and Compact Crusher Dust: Spread a layer of crusher dust across the site to achieve a compressed thickness of at least 80mm. This layer must be leveled, lightly moistened with water, and then compacted using a tamper or a mechanical compactor for larger areas. This creates a firm and even base that is 20mm below the intended final surface height of the grass.
Step 2: Laying and Securing the Grass
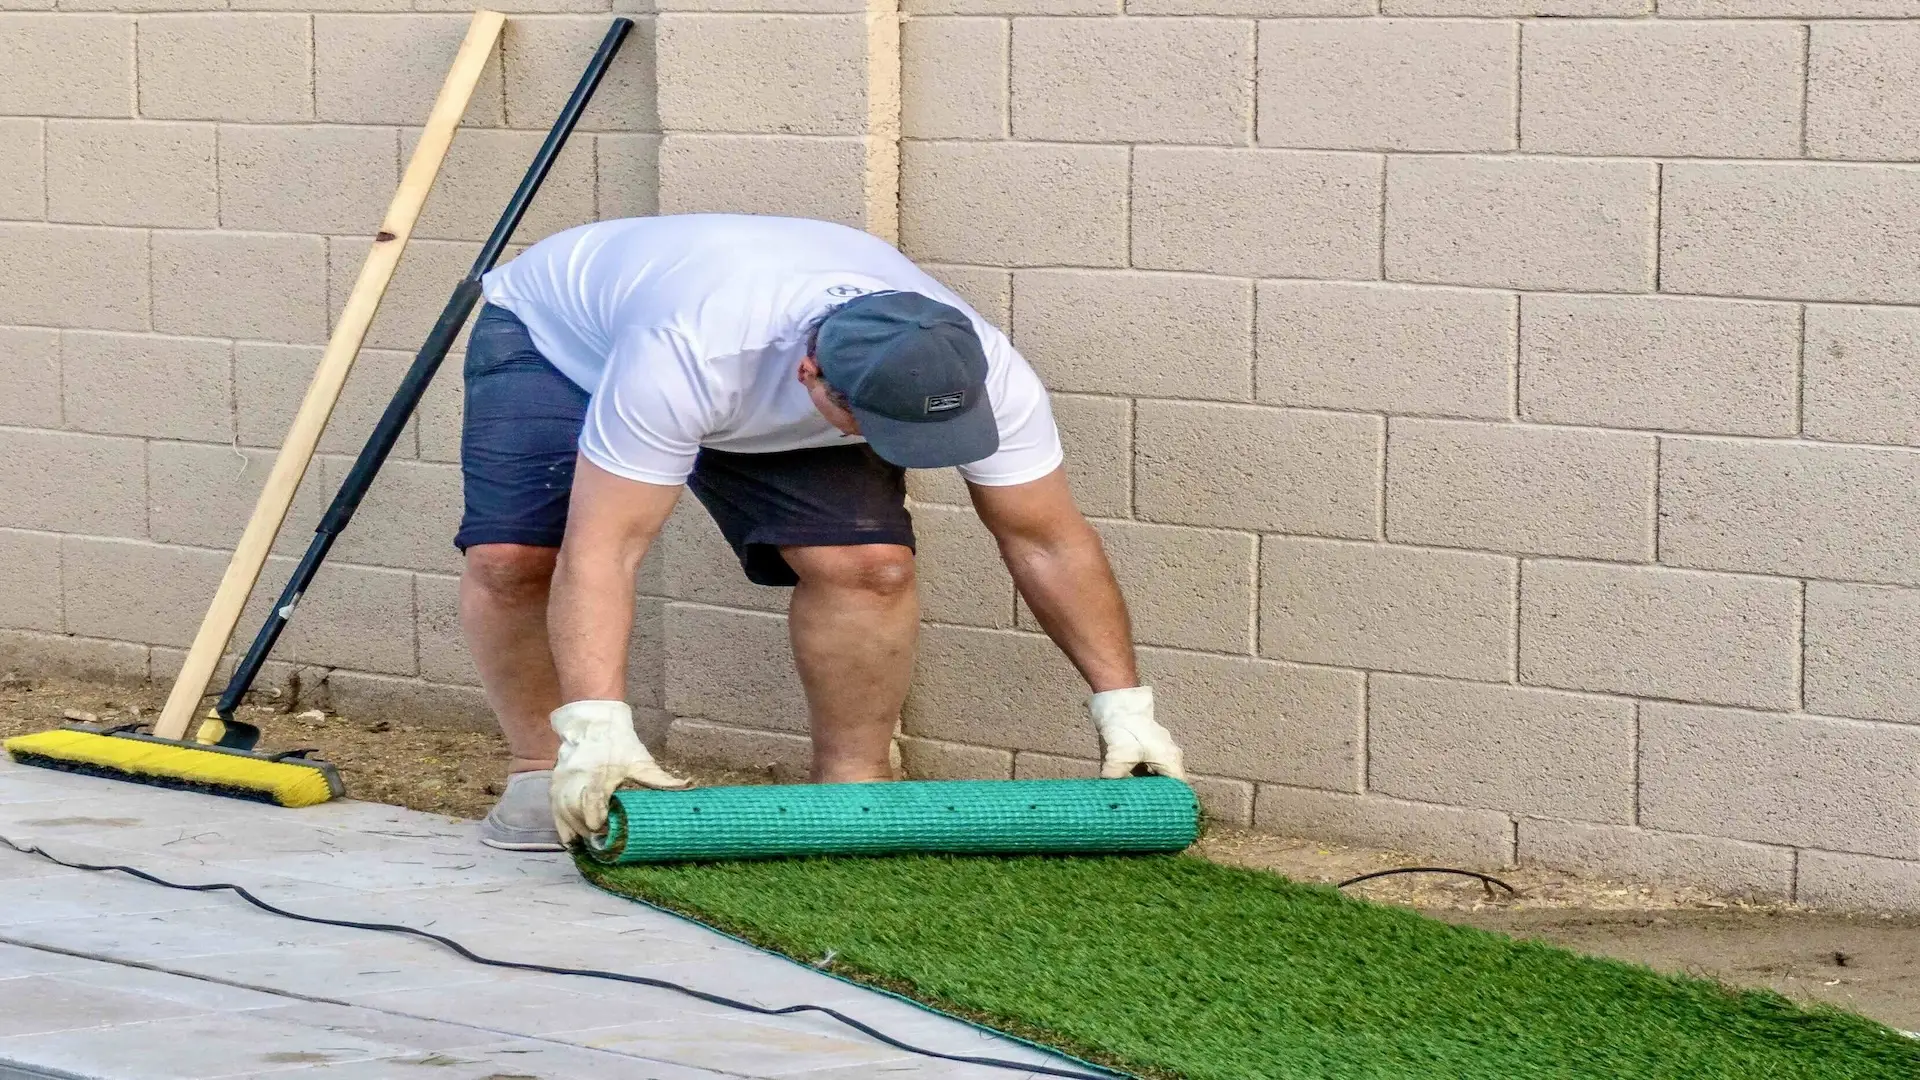
- Determine Grass Orientation: Note that artificial grass blades have a directional flow, which affects the appearance of the finished lawn. For optimal visual appeal, ensure the blades face towards the primary viewing area. In front yards, this typically means pointing towards the street, while in backyards, they should face towards the house. Aim to minimize the number of seams and ensure the directional flow of the grass is consistent across all pieces.
- Roll Out the Grass: Artificial grass rolls are heavy, so assistance may be required to position them correctly. Start with the largest area, unrolling the grass in the direction that ensures the blades are oriented as planned. Avoid trimming the edges at this stage; focus on covering the area effectively with minimal waste.
- Joining Sections: If your installation requires joining multiple sections of grass, ensure the edges align perfectly before rolling them back to place self-adhesive joining tape beneath the seams. Carefully reposition the grass edges onto the tape, applying pressure to secure the bond. Use U-pins along the seams, spaced every 500mm, to further secure the join.
- Trimming Edges: Cutting the tough artificial grass to fit the perimeter of the installation area requires a sharp utility knife. Regularly change blades to maintain cutting efficiency. Fold back the grass at the edges, mark where cuts are needed, and use a straight edge as a guide for trimming.
Step 3: Anchoring and Maintenance
- Sand Infill: Evenly distribute kiln-dried sand (specifically ACI sand) over the entire surface of the grass. Use a large, stiff broom or a power broom to work the sand down to the base of the grass. This infill not only helps the grass blades stand upright but also adds weight to keep the installation in place.
- Ongoing Care: While artificial grass requires less maintenance than natural grass, regular upkeep is necessary to maintain its appearance and longevity. Follow a maintenance schedule that includes brushing and occasionally adding more sand infill as needed.
Installation Tips
- Comprehensive Planning: Take the time to plan your project thoroughly, considering the layout, materials needed, and safety precautions.
- Quality Materials: Use high-quality materials for the base and infill to ensure the durability and appearance of your lawn.
- Regular Maintenance: Adopt a routine maintenance schedule to keep your artificial grass looking its best year-round.